Wild Clay
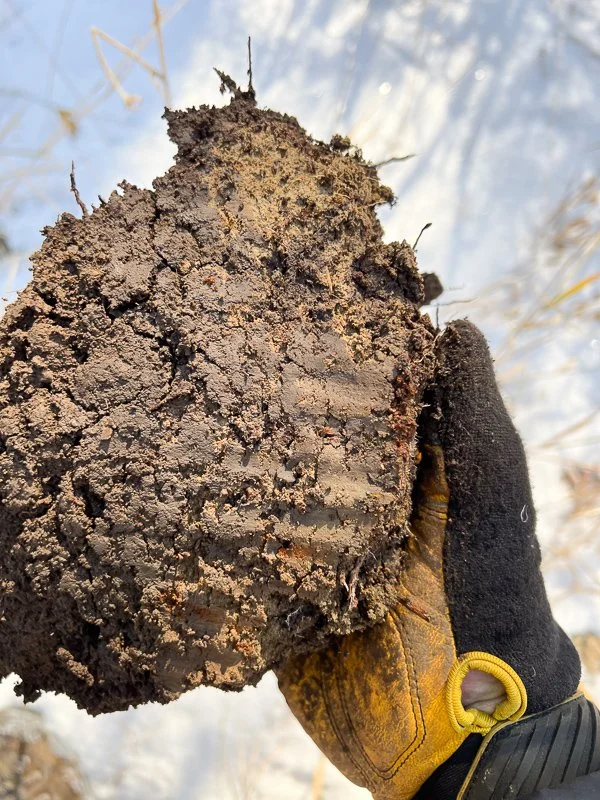
Wild red stoneware clay as it comes straight from the ground. Goldendale, Washington 2022
Clay is the heart and soul of pottery, whether a pure smooth porcelain, a chunky stoneware clay, or clay straight from the ground. When I started doing ceramics at Merritt Ceramics, Steve Ruby, one of the owners, encouraged me to go out and find my own clay. His thought was to create a learning opportunity, but also to turn the clay into slip, a watered-down paste that can be used to layer onto other wares during the process of surface design. This took me to digging in riverbeds on family property in Mendocino and the eastern Washington high desert near Goldendale. We even found bands of clay under our house in the Oakland Hills when planting flowers. And each of these clays is beautiful and unique, and reflects place.

The Mendocino clay (left and right) starts the color of mustard but fires to bright red. Areas with clear glaze turn speckled silvery. Our house clay (middle) is a rich red brown that looks like chocolate under clear glaze, and has beautiful white flecks throughout.
What makes clay special, and finding wild clay a treasure hunt? Clay is moldable in that you can easily shape it and it has enough strength to hold that shape before hardening when dry. Sometimes clay is easy to find, as a wet and slippery surface that makes hiking trails sometimes treacherous. Take a handful and squeeze it — does it fall apart like sand or hold its shape? Then roll it into a sausage — does it reshape and hold together or fall apart like soil? Then tie the sausage into a knot — does it have the plasticity to bend and curve without cracking. If what you found passes these tests, you might just have a viable clay!

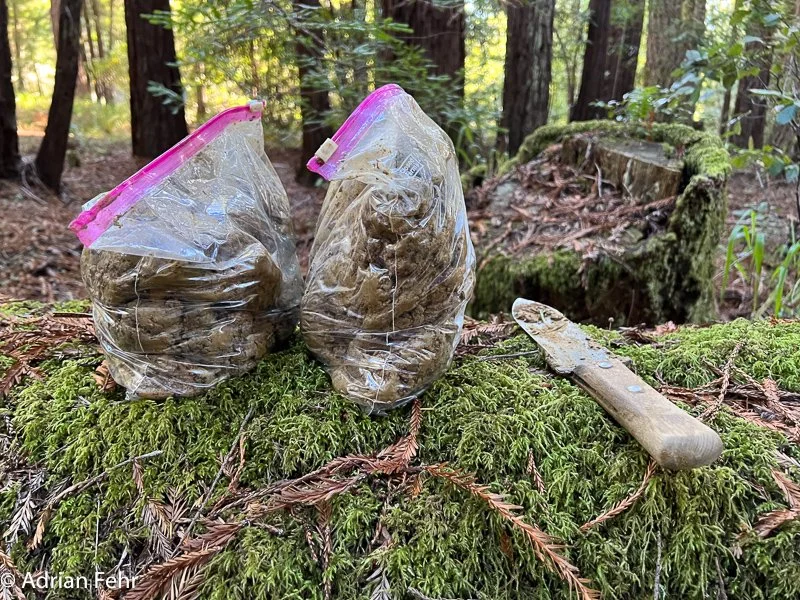
Mendocino clay from a creek bed. It clumps, rolls, and twists with ease.
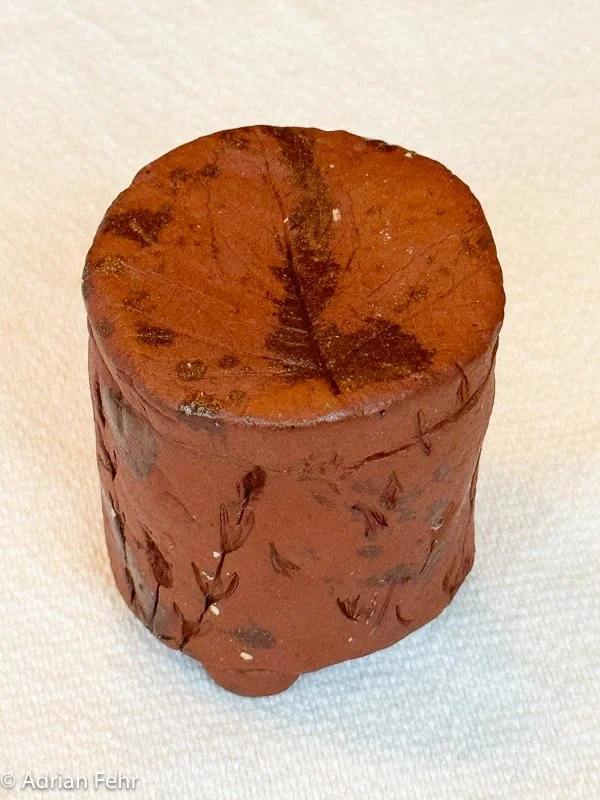
Sometimes it is fun to directly pinch a pot even with some roots and leaves and pebbles still present, straight from the ground. Organics will burn out of the clay, leaving imprints of leaves or sticks, and pebbles might crack the clay since they don’t shrink, but they can add texture and visual interest.
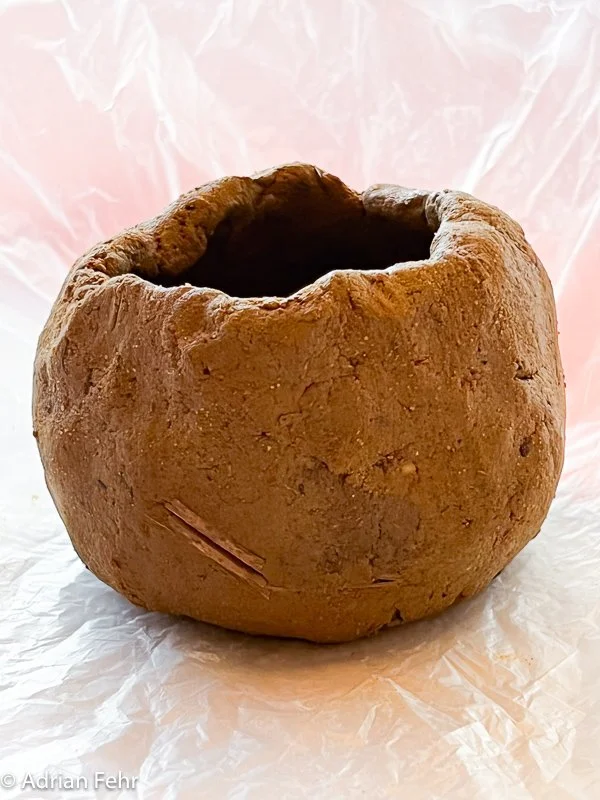
Wild Mendocino clay roughly pinched into a pot, twigs, pebbles, and all.

The same pinch pot fired to cone 5 showing the wonderful texture and color of the wild clay.
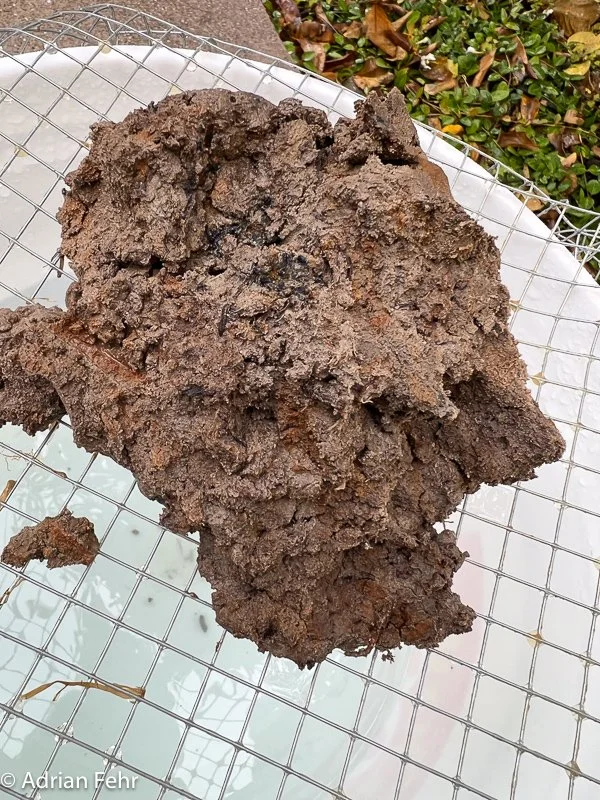
But let’s say that you don’t want a ton of rock or sand or organics in your clay, since those elements tend to decrease plasticity and make for a more uneven experience. First, coarse sift your clay to get rid of big stuff and to aid water absorption. Then make a wet slip by adding water with a heavy duty drill and paint/plaster mixer. When everything is good and mixed, you can do a sedimentation test to see how much course sand you have, versus fine silt, versus ultra-fine clay. The sand falls out in seconds to minutes, the silt by ten minutes, and the clay can take days to settle. Generally, I’ll mix everything up really good, let sand and silt settle for 5-10 minutes and then pour off the clay suspension into a new bucket. The sand and silt get’s left behind! You can then settle the clay, pour off water, and put the mush onto canvas-covered sheetrock bats or plaster slabs to suck out the water and get the clay that we know and love!


After all that, you still might not have great clay! You need to test it for suitability for firing (does it melt?!), shrinkage, and water absorption. Make some strips of clay with known distances stamped on them, put them on kiln cookies (so that IF they melt, you don’t ruin a kiln shelf!), and bisque and glaze fire. Did they melt? How much did they shrink? 5-15% is common. If you boil them in water for 3 hours and soak overnight, how much water mass got absorbed? <1% is ideal especially for functional wares, but <5% is acceptable and common for a lot of commercial clays, especially for sculpture or non-functional wares.
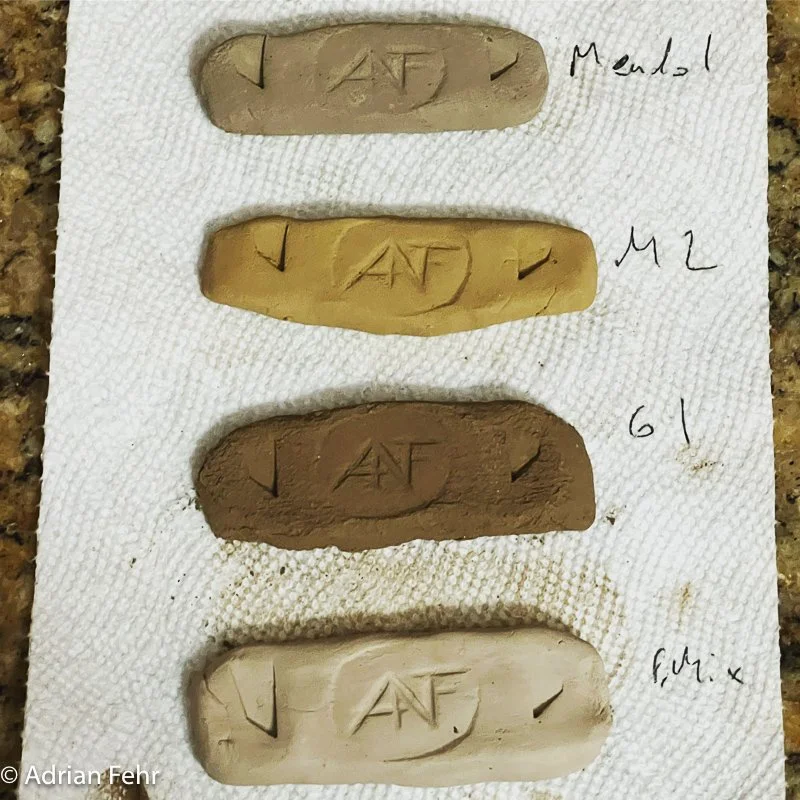
Green test tiles of processed wild clay. The top two are different locations of the same creek in Mendocino and the bottom is from Goldendale.
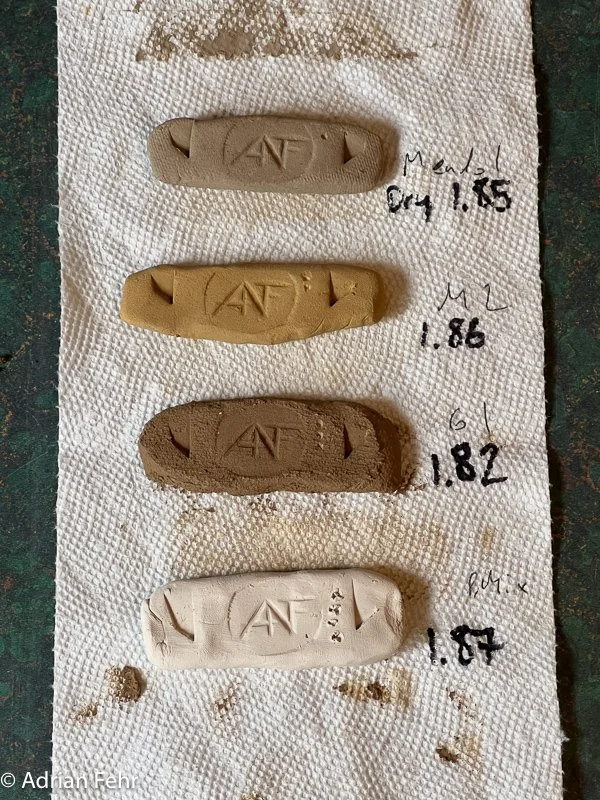
Post-bisque and glaze firing to cone 5. The sharpie shows how much the 2” caliper marks shrunk too, so from 2” down to 1.85” for example, and a shrinkage of 7.5%. The absorption was in the ballpark of 3-4%, so slightly porous and not full vitrified at cone 5. Cone 10 testing melted the Goldendale sample onto the cookie, but the Mendocino samples were still firing strong!
One other variable is that you can add commercial clay or additives to your wild clay to change it’s characteristics, including color, plasticity, firing temperature, grog/grit, etc. I mixed my main Mendocino clay with B-mix at 50:50, 67:33, and 90:10 ratios, but I loved the rich color of the pure wild clay and tend to let the clay express itself without modification.
Now on to the making! Here are some of the thrown and handbuilt works that I’ve made with wild clay. Enjoy!!
House clay (see the white speckles?!) impressed with plants from our gardens, including passionfruit and lavender, made into a salt box. The darker splotches are where I splashed clear glaze onto the form.
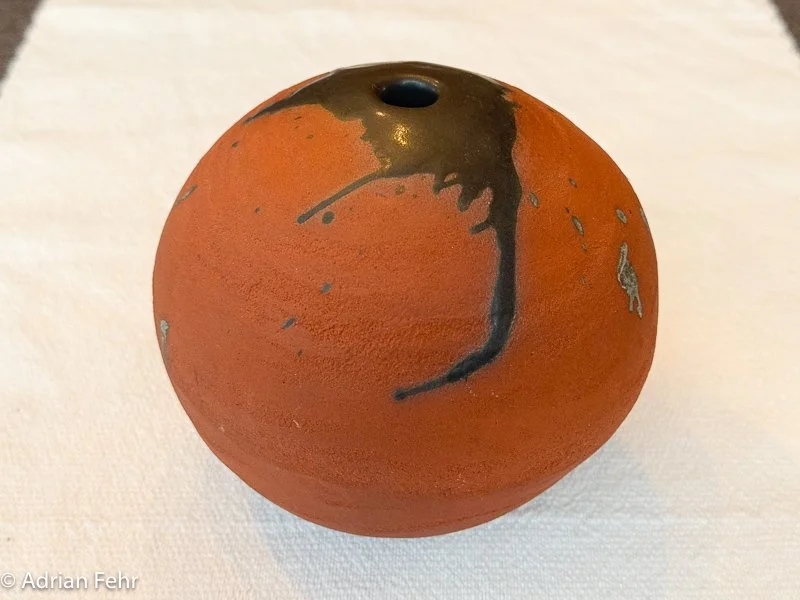
Mendocino clay orb vase with matte black glaze.
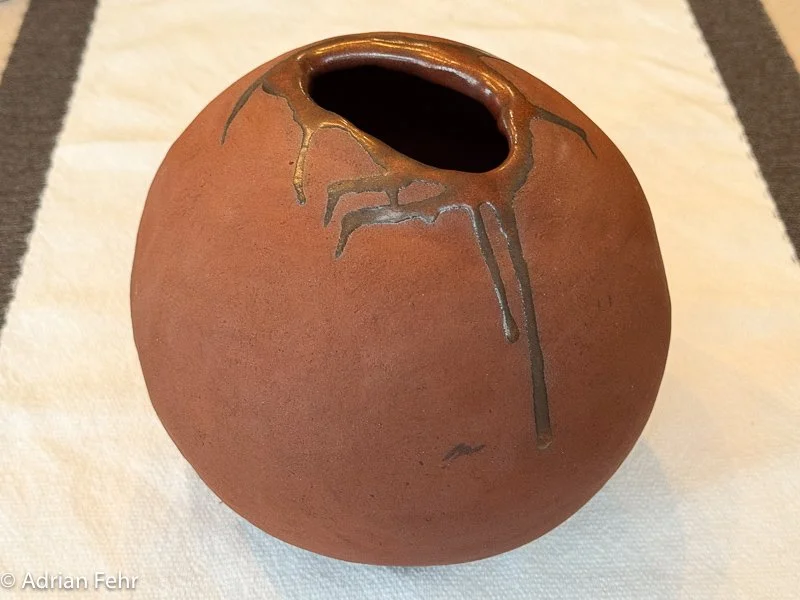
Large Goldendale clay orb vase with red iron glaze.

Thrown Goldendale clay vase with runny ash glaze made from fireplace ash on the property.

Goldendale clay made into a salt box, with matte black glaze
Curious to learn more? Give me a shout!